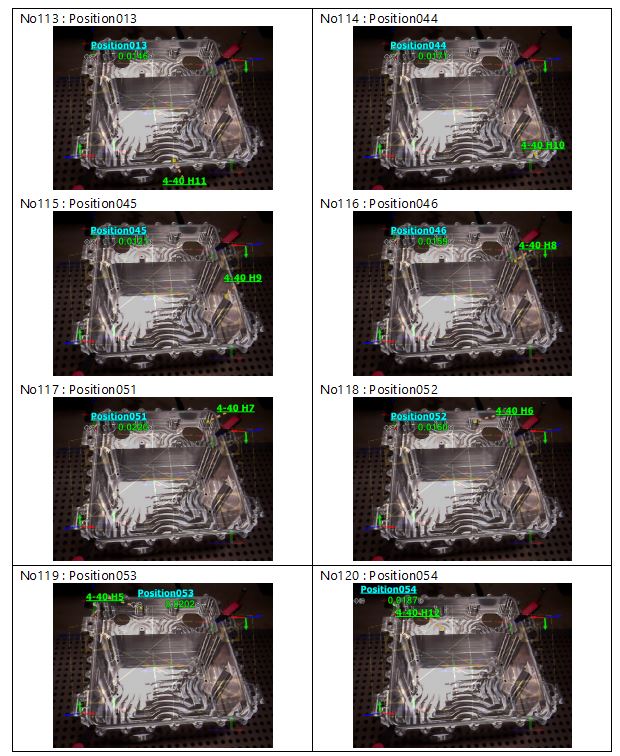
The coordinate measuring machine (CMM) is a key part of any CNC machine shop. This device features an electronic probe that is used for measuring the geometry (height, width, and depth) of physical parts by sensing certain points on the surface of the object being measured. This helps one determine if the part in question meets the required specifications.
The primary advantage of this type of machine is that it can be used for measuring items that would otherwise be difficult to measure accurately with other types of measuring tools. A 3D CMM can measure using virtual lines and points, allowing for greater accuracy and more measurement options.
How the device works
The first step with a CMM is to allow the item being measured to adjust to the temperature of the room in which the machine will be used. Typically, you give it at least five hours to adjust to the temperature to prevent any measurement errors caused by thermal expansion.
You can then perform measurements by moving the probe to your desired location on the item manually, or with a computer controlling the probe. The CMM then logs the X, Y, and Z coordinates of that location. As you capture more points with the probe, the software in the machine calculates your chosen dimensions.
The various types of CMMs
There are several common types of CMMs:
Our equipment
At Coastal Machine & Supply, our specific tool is the Keyence Wide Area CMM, which has a 32’ x 16’ measuring range. We make regular use of this tool for work in the aerospace industry.
This equipment provides highly accurate measurements, including easy 3D and GD&T measurements.
For more information about the CMM and its applications and benefits, contact us today.


